
When one tube has to slide into another, or connect to a smaller fitting, the simplest answer is often to make its end smaller. That is pipe swaging. It is fast, it wastes no material, and it removes the need for a separate reducer. But swaging also has its own failure modes. A reduced end can wrinkle, buckle, spring back out of tolerance, or come out oval, and any of these can cause leaks or rejected parts.
This guide explains what pipe swaging is, how to reduce pipe diameter step by step, and, most importantly, how to recognize and fix the most common swaging problems.
What Is Pipe Swaging?
Pipe swaging is a cold forming process that reduces the diameter of a pipe or tube by forcing it into a shaped die. The metal is not cut or removed; it is pushed inward and flows into a smaller, longer section. In tube fabrication, swaging is usually applied to the tube end, where it is also called tube reducing or necking and is one of the core operations of tube end forming.
Main swaging methods
|
Method |
How it works |
Best for |
|
Push (ram) swaging |
The tube is clamped, and a die is pushed axially over its end, or the end is pushed into the die |
Fast, repeatable end reductions in production |
|
Progressive swaging |
Several dies reduce the end in stages, each a little smaller than the last |
Large reductions without wrinkling or buckling |
|
Rotary swaging |
Two or more dies hammer the tube radially while rotating around it |
Long tapers, points and very smooth, concentric surfaces |
In high-volume tube fabrication, push and progressive swaging on a tube end forming machine are the most common, because they combine short cycle times with consistent dimensions.
Swaging vs expanding
Swaging is the opposite of expanding. Expanding pushes a tool inside the tube to make the end larger; swaging presses from the outside to make it smaller. Expanded ends usually become sockets, while swaged ends become the spigot that fits inside them. Because the material is compressed, a swaged wall tends to get slightly thicker, while an expanded wall tends to get thinner.
How to Reduce Pipe Diameter by Swaging
The steps below describe how to swage a tube end on a production end forming machine. The same logic applies to smaller manual setups.
- Define the target. Fix the reduced OD, the length of the reduced section, and the shape of the transition (step, cone, or radius). This determines the die design and how many steps you need.
- Cut and prepare the end. Cut the tube square and remove burrs. A clean, chamfered edge enters the die smoothly, reducing scratching and edge cracks.
- Lubricate. Apply a suitable forming lubricant to the tube end or die to lower friction and prevent galling.
- Clamp securely. Clamping dies must hold the tube without slipping and without marking the surface. The unsupported length between clamp and die should be as short as possible to prevent buckling.
- Swage in one or more steps. The die moves axially over the tube end. For small reductions, one stroke is enough; for larger reductions, progressive dies reduce the diameter a little at a time.
- Size and calibrate. A final sizing die brings the OD into tolerance and corrects small springback.
- Inspect. Check OD, reduced length, roundness, wall thickness, and surface finish on first-off parts and at regular intervals.
As a rule of thumb, the larger the total reduction, the thinner the wall relative to the diameter, and the harder the material, the more steps you should split the reduction into.
Common Pipe Swaging Problems and How to Avoid Them
Most swaging defects come from four things: too much reduction in one step, poor tube support, poor tooling or lubrication, and inconsistent machine control. The problems below are the ones fabricators meet most often.
1. Wrinkling in the transition zone
Wrinkling shows up as small folds or ripples around the circumference where the diameter changes. It happens when the compressed metal has nowhere to flow, usually because too much reduction is taken in one step or the wall is thin compared with the tube diameter.
To prevent it, split the reduction into progressive steps and use a die with a longer, gentler entry angle so the metal is guided inward gradually. For thin-walled tubes, supporting the inside with a mandrel keeps the wall from folding.
2. Tube buckling
Buckling is when the tube bulges, kinks, or collapses behind the die instead of reducing. The axial force needed to push the die over the end exceeds what the tube can carry, most often because the unsupported length between the clamp and the die is too long or the tube is slipping in the clamp.
The fix is to shorten the free length as much as possible, and use clamp dies that match the tube OD exactly, so the tube is held firmly right up to the forming zone. Lowering the force per stroke by adding more forming steps also keeps the load below the buckling limit.
3. Excessive wall thickening
Because swaging compresses the metal, the wall in the reduced section gets thicker. When the reduction is large, the wall can grow beyond the allowed tolerance and the inside diameter becomes too small for the part that has to fit into it.
Manage this at the design stage by allowing for wall growth in the drawing, and on the shop floor by limiting the reduction per step. Where the ID is critical, an internal sizing pin can be used during the final step to hold the inside diameter to size.
4. Springback and OD out of tolerance
After the die is released, the reduced OD often ends up slightly larger than the die, or varies from part to part. This springback is the metal's elastic recovery, and it changes with material hardness, temper, and wall thickness.
The usual solution is to compensate for springback in the die size and add a final sizing step that brings the OD back into tolerance. Keeping tube material from consistent batches also keeps springback predictable, so you don't have to correct the setting constantly.
5. Ovality
An oval swaged end fits and seals poorly. Ovality usually comes from misaligned or worn dies, uneven wall thickness in the raw tube, or a tube that is not held concentric with the die during forming.
Regular checks of die alignment and wear prevent most ovality, together with precision clamp dies that hold the tube centered. Choosing tube stock with consistent wall thickness removes the remaining source of the problem.
6. Scratches and galling
Score marks and material pick-up on the swaged surface are especially common with aluminum tubes. Insufficient lubrication, rough die surfaces, or burrs on the tube end can cause them to drag along the die.
Using the right forming lubricant and polished or coated dies solves most surface problems. Deburring and chamfering the tube end before swaging also stops sharp edges from scoring the die and the tube.
7. Inconsistent reduced length
When the reduced section length varies from part to part, the assembly will not fit consistently. The cause is usually uneven cut length or manual positioning of the tube against the die.
Accurate tube cutting and facing the end before swaging give every part the same starting length. A machine with servo-controlled stroke and positioning then reproduces the same reduced length on every part.
Quick troubleshooting
|
Problem |
First thing to check |
|
Wrinkling |
Reduction per step |
|
Buckling |
Unsupported length and clamping |
|
Wall too thick |
Total reduction ratio |
|
OD out of tolerance |
Springback compensation, sizing step |
|
Ovality |
Die alignment and wear |
|
Scratches |
Lubrication and die finish |
|
Length variation |
Cut length and stroke control |
Applications of Pipe Swaging
- Automotive. Exhaust pipes, A/C lines, coolant and fuel pipes are swaged so one section slides into the next or into a fitting.
- HVAC and refrigeration. Copper and aluminum tubes are reduced to match compressor ports, valves, and smaller branch lines.
- Furniture and fitness equipment. Swaged tube ends let frame sections telescope or plug together for strong joints without welding.
- Hydraulic and fluid lines. Reduced ends create spigots and stepped connections for fittings and hoses.
- Industrial equipment and appliances. Gas lines, water heater pipes, and machine frames use swaged ends to reduce the need for separate reducers.
In many of these parts, swaging is combined with expanding, beading, or grooving on the same tube, which is why multi-station end forming machines are widely used.
Choosing a Pipe Swaging Machine
Many of the problems above are easier to prevent with the right equipment than to fix afterwards. When choosing a pipe swaging or tube end forming machine, look at:
- Forming force and rigidity. Enough force for your hardest material and thickest wall, with a frame that does not deflect under load.
- Clamping. Precise clamp dies, ideally double clamping, to stop slipping and buckling.
- Multiple stations. Several stations make progressive swaging possible and let you combine reducing with chamfering, expanding, or beading in one cycle.
- Precise positioning. Servo-driven station indexing keeps reduced length and die alignment consistent.
- Integrated end preparation. Chamfering or facing before swaging gives cleaner, crack-free ends.
It also pays to work with an experienced tube end forming machine manufacturer that can design the dies and process steps around your parts.
GSIE machines for pipe swaging
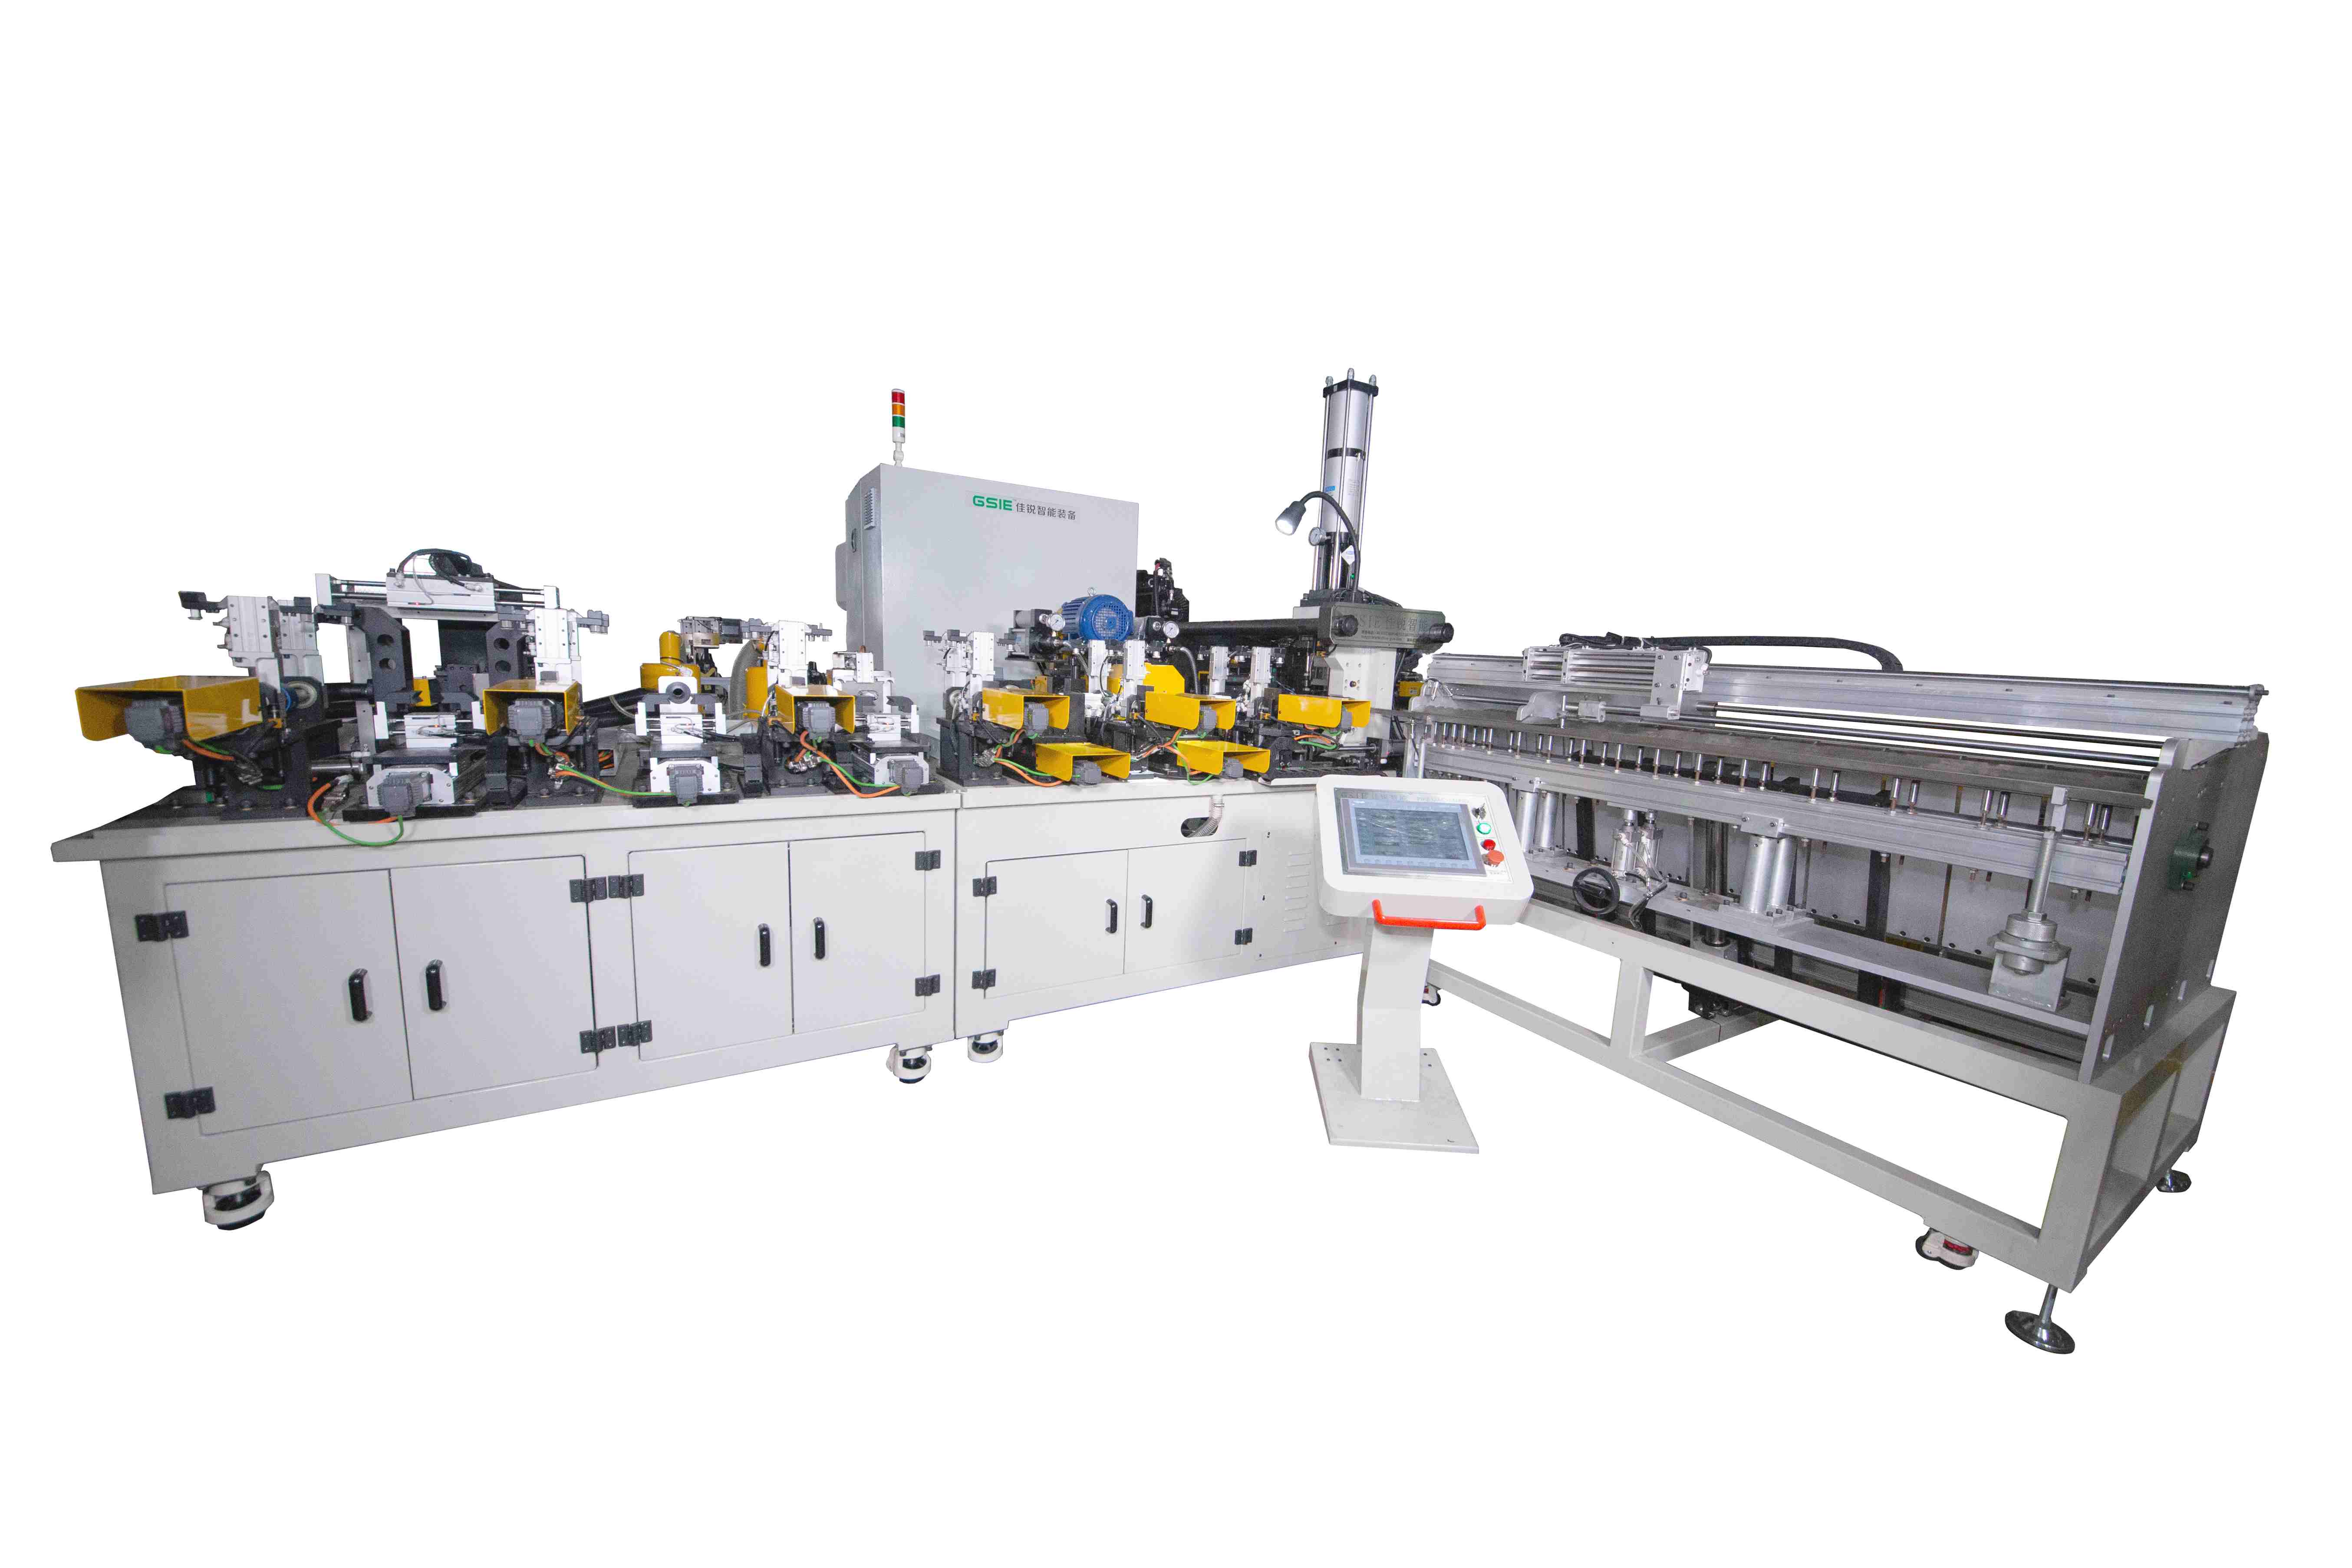
GSIE tube end forming machines handle reducing, expanding, flaring, and shaping of carbon steel, aluminum alloy, and copper tubes.
|
Model |
Key features |
|
Chamfering followed by 4-station high-force extrusion, for tubes up to Φ70 mm; servo and ball screw punch indexing |
|
|
Double clamping dies and 4 forming stations with a servo chamfering station, for complex reduced ends |
|
|
Tailings removal, chamfering and end forming in a single clamping, 4 forming stations |
Conclusion
Pipe swaging is a quick, material-saving way to reduce pipe diameter and make tubes fit together without extra reducers. Most swaging problems, from wrinkling and buckling to springback and ovality, come down to reduction per step, tube support, tooling and machine control. Get those right and swaged ends come out round, accurate, and leak-free. To match a machine to your tubes, explore the GSIE tube end forming machine series or send your part drawing to our engineers.
FAQ
- What is the difference between swaging and crimping?
Swaging reduces the tube's circumference evenly into a smooth, round section. Crimping presses the tube locally, usually to lock a fitting or hose in place.
- How much can a pipe be reduced by swaging?
It depends on material, wall thickness, and the number of steps. Ductile copper and aluminum allow larger reductions than carbon steel, and you should always split large reductions into progressive steps.
- Does swaging change wall thickness?
Yes. Because the metal is compressed, the wall in the reduced section usually gets slightly thicker.
- Why does my tube buckle during swaging?
Usually because the unsupported length between the clamp and the die is too long, the clamp is slipping, or the reduction per step is too large.
- Can swaging and expanding be done on the same machine?
Yes. Multi-station tube end forming machines can reduce one section and expand, bead, or chamfer others in the same cycle by changing tooling.